Learn more
Are you ready to take your Nerf battles to the next level? With Nerf gun customization, you can personalize your blaster and enhance your gameplay experience. In this step-by-step guide, we'll walk you through the process of customizing your Nerf gun. Let's get started!
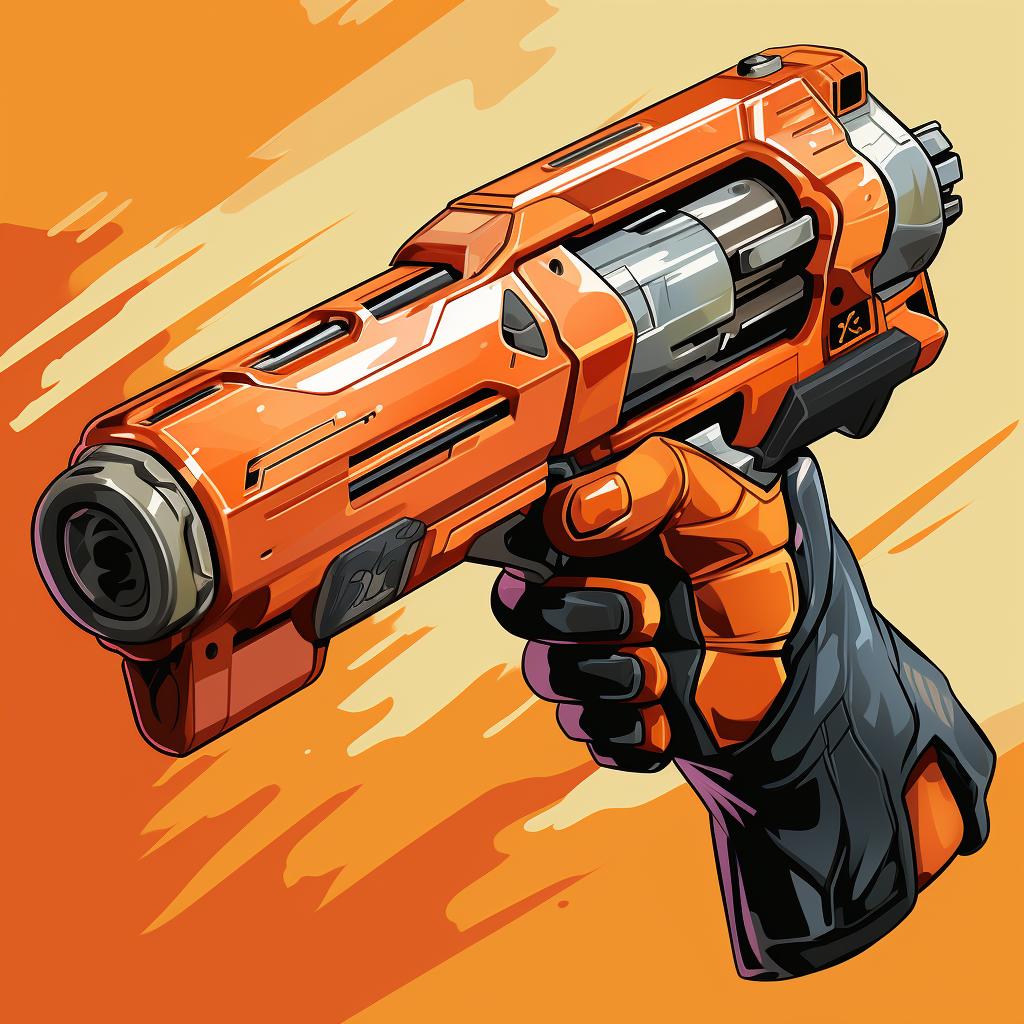
Step 1: Choose Your Accessory
The first step in customizing your Nerf gun is to select the accessory you want to attach. Whether it's a scope, barrel extension, or flip clip from the Nerf Modulus Upgrade Kits, there are plenty of options to choose from. Consider your play style and what will best suit your needs.
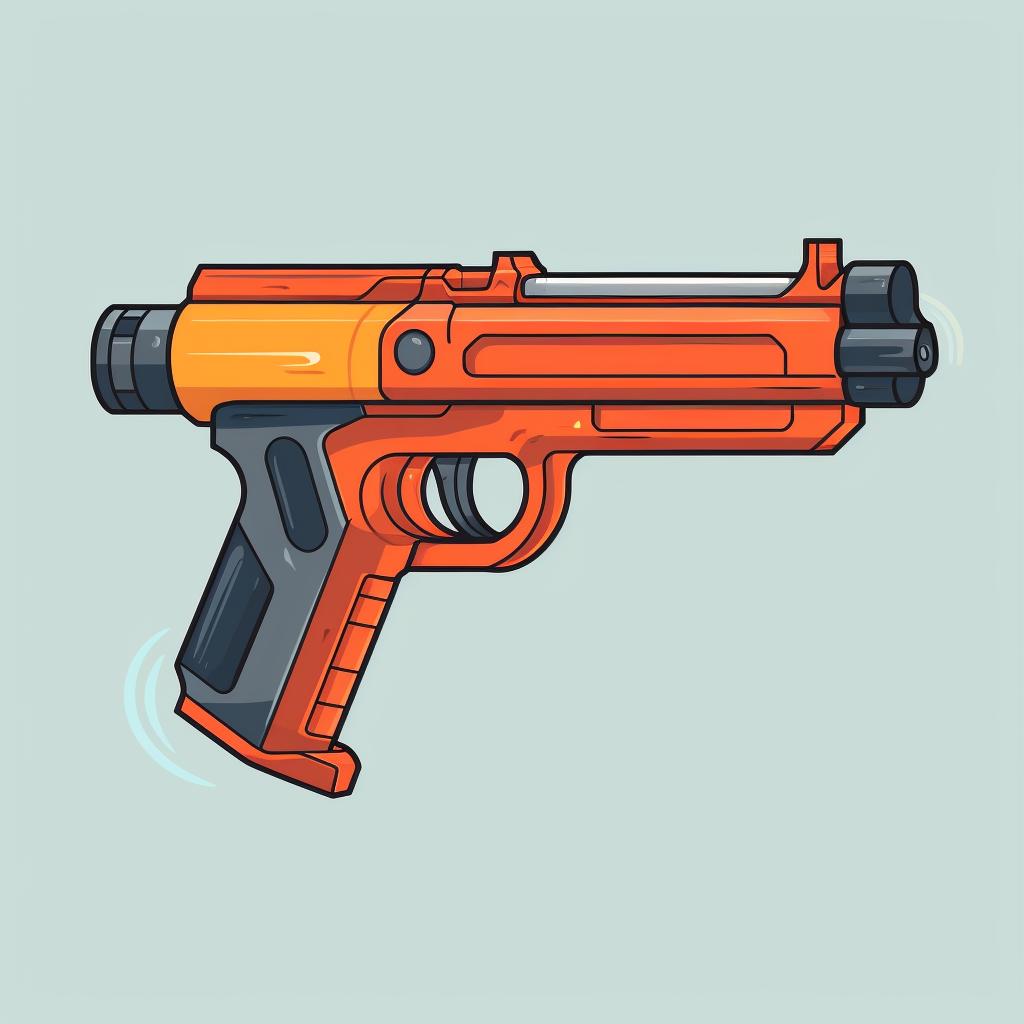
Step 2: Identify Attachment Points
Once you've chosen your accessory, it's time to locate the attachment points on your Nerf gun. These attachment points are usually found on the top, bottom, or sides of the blaster and are designed to accommodate different accessories. Take a close look at your blaster to find the perfect spot.
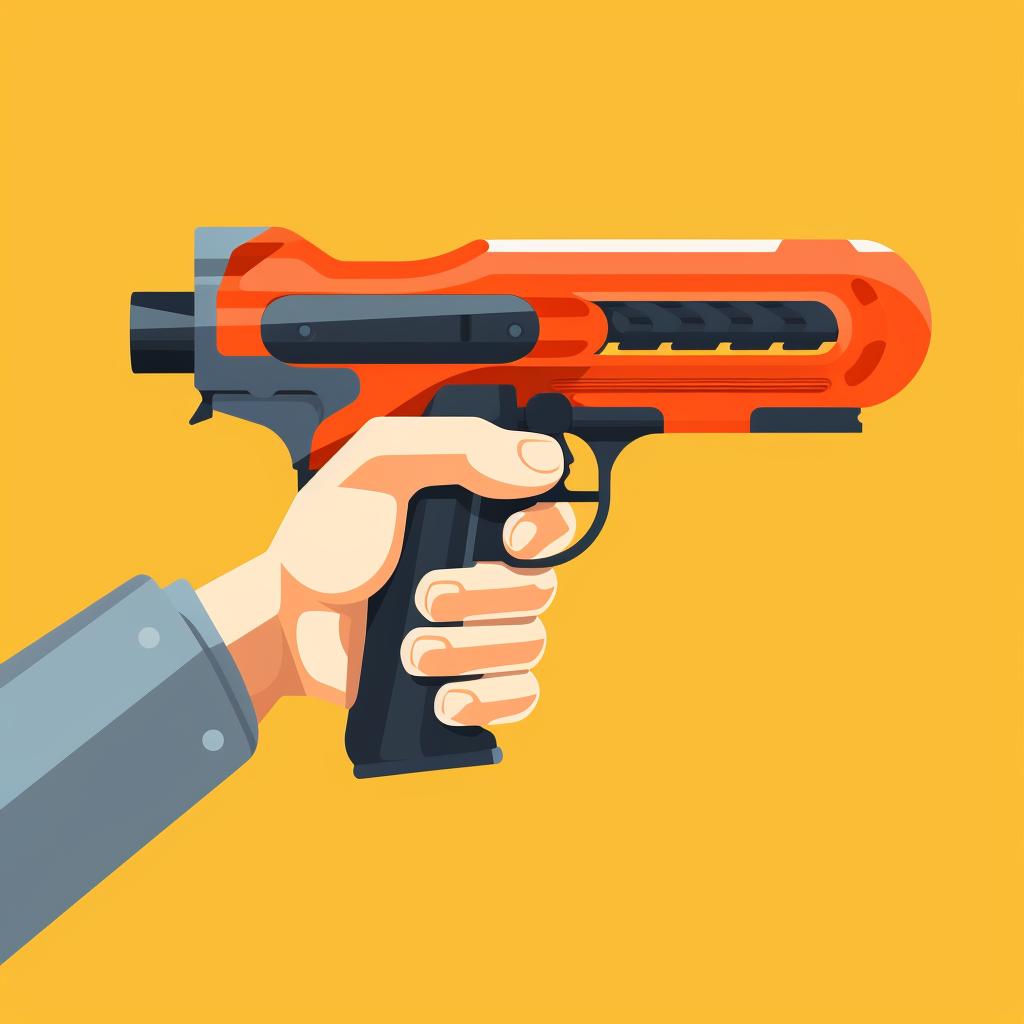
Step 3: Attach the Accessory
With the attachment points identified, it's time to attach your chosen accessory. Align the accessory with the attachment point and gently push it into place until you hear a satisfying click. Make sure it's securely attached before moving on to the next step.
Step 4: Test the Accessory
Now that your accessory is attached, it's time to test it out. If you've added a scope, take aim and see if it improves your accuracy. If you've added a barrel extension, test how it affects the range and power of your shots. Experiment and find out how your customization enhances your Nerf battles.
Step 5: Enjoy Your Customized Nerf Gun
Congratulations! You've successfully customized your Nerf gun. Now it's time to enjoy the fruits of your labor. Take your blaster to the battlefield and show off your personalized style. Whether you're competing with friends or participating in Nerf events, your customized Nerf gun will make you stand out from the crowd.
Remember, Nerf gun customization is all about personalization and enhancing your gameplay experience. Have fun exploring different accessories and finding what works best for you. Happy Nerfing!
So, what are you waiting for? Grab your Nerf gun, choose your accessories, and let the customization begin. Get ready to take your Nerf battles to a whole new level of excitement and fun.
All Rights Reserved © 2025


